Padding
Padding is the space between an element’s content and its border. It provides internal spacing inside the element, helping improve readability and the overall design of a web page.
Take a look at the image below:

Here, the extra space between the text "CodeWithHarry" and the border is padding.
Syntax:
selector{
padding: value;
}You can define padding in multiple ways, depending on whether you want equal spacing on all sides or different values for each side.
Method 1: Equal Padding on All Sides When you specify a single value, it applies equally to top, right, bottom, and left.
selector{
padding: value;
}Example:
<html lang="en">
<head>
<style>
#p1{
border: 2px solid purple;
}
#p2 {
padding: 12px;
border: 2px solid red;
}
</style>
</head>
<body>
<p id="p1">CodeWithHarry (without padding)</p>
<p id="p2">CodeWithHarry (with padding)</p>
</body>
</html>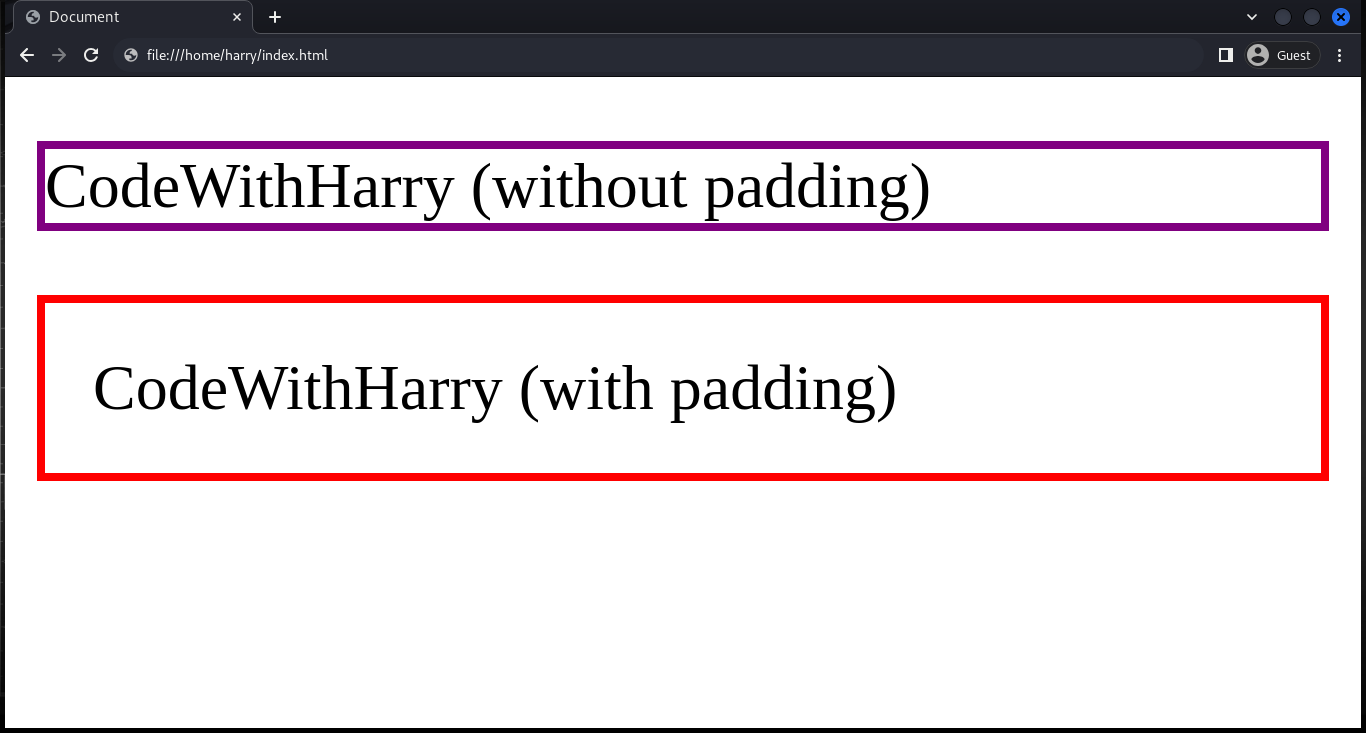
Note: Padding values can be set using different units like px, em, rem, %, or even auto.
If you are not familiar with borders, you can also check out the CSS borders tutorial.
Method 2: Vertical and Horizontal Padding When you provide two values, the first one sets the vertical padding (top and bottom), and the second sets the horizontal padding (left and right)
selector{
padding: value1 value2;
}Example:
<html lang="en">
<head>
<style>
#p1{
border: 2px solid purple;
}
#p2 {
padding: 20px 50px;
border: 2px solid red;
}
</style>
</head>
<body>
<p id="p1">CodeWithHarry (without padding)</p>
<p id="p2">CodeWithHarry (with padding)</p>
</body>
</html>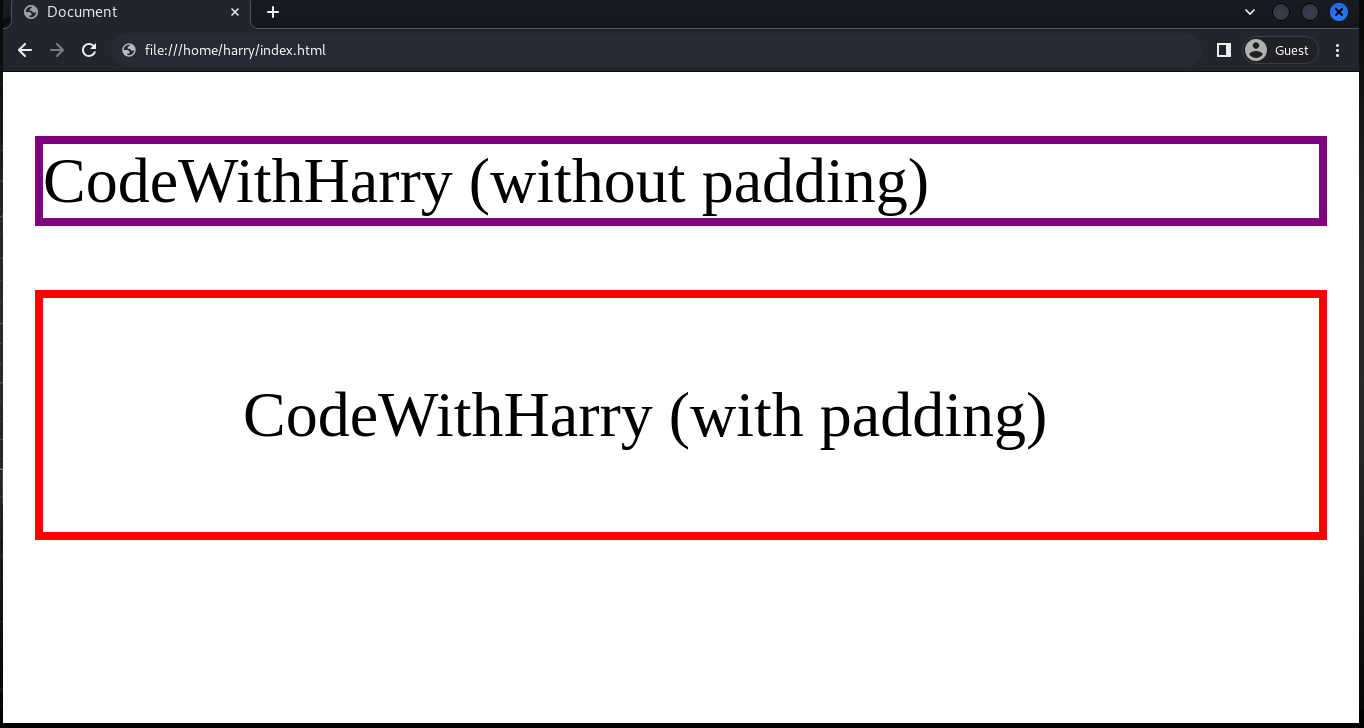
Method 3: Individual Padding for Each Side When you provide four values, each corresponds to a different side:
selector{
padding: value1 value2 value3 value4;
}- Top: value1
- Right: value2
- Bottom: value3
- Left: value4
Example:
<html lang="en">
<head>
<style>
#p1{
border: 2px solid purple;
}
#p2 {
padding: 15px 30px 25px 50px;
border: 2px solid red;
}
</style>
</head>
<body>
<p id="p1">CodeWithHarry (without padding)</p>
<p id="p2">CodeWithHarry (with padding)</p>
</body>
</html>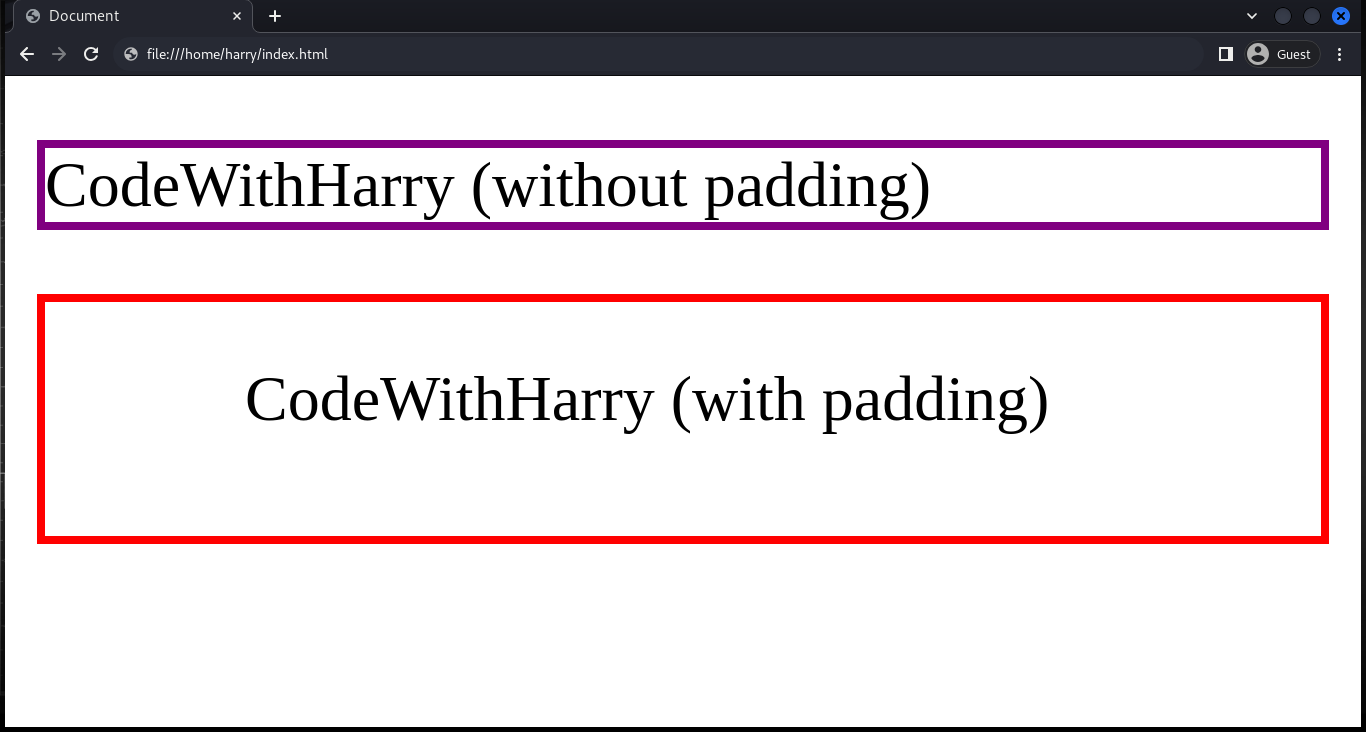
Here, the padding values are:
- top: 15px
- right: 30px
- bottom: 25px
- left: 50px
Playaround: You can also check the padding of each HTML element(s) using the inspect tool. Follow the steps.
- Right-click and click on inspect.
- Click on the computed styles sidebar.
- Toggle with the box model.
Watch it in action:
Summary
- Single Value (padding: 20px) → Applies equal padding to all sides.
- Two Values (padding: 20px 50px) → Vertical | Horizontal.
- Four Values (padding: 15px 30px 25px 50px) → Top | Right | Bottom | Left.
- Padding helps give breathing space inside elements, making layouts look clean and user-friendly.