Mini Project 1 - Smart Feedback Form
In this mini project we will build a Smart Feedback Form using Next.js.
You will learn how to combine three key features:
- Server Actions: to handle server-side form processing
useActionState: to maintain server-returned stateuseOptimistic: to show new feedback instantly (optimistic UI)useFormStatus: to manage loading states inside nested components
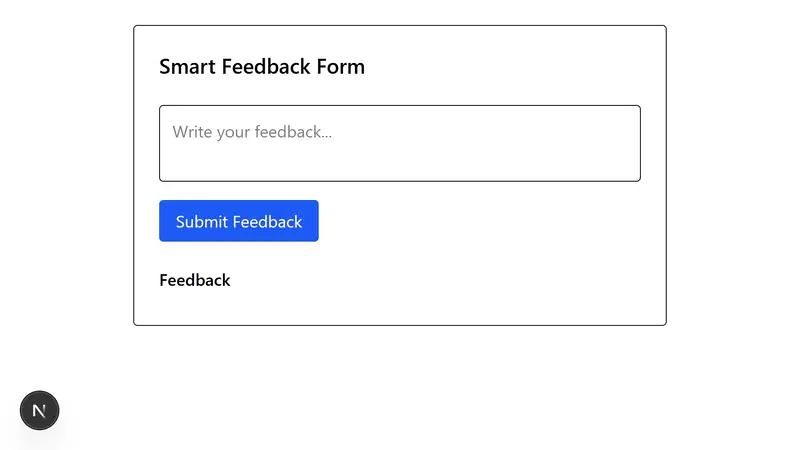
What We Are Building
The Smart Feedback Form will:
- Allow users to submit feedback
- Show the feedback immediately (optimistic update)
- Validate that feedback is not empty
- Show loading state while the server processes the submission
- Show server confirmation
- Handle errors cleanly
This is a quick demo of the Smart Feedback Form.
Step 1: Create the Server Action
Create a server action to receive the submitted feedback. This will validate input and return proper state updates.
app/actions.js
"use server";
export async function submitFeedback(prevState, formData) {
const text = formData.get("feedback");
// simple validation
if (!text || text.trim() === "") {
return {
error: "Feedback cannot be empty",
newFeedback: null
};
}
// simulate slow server/network
await new Promise(r => setTimeout(r, 1200));
return {
error: null,
newFeedback: {
text
}
};
}This Action:
- Runs entirely on the server
- Accepts
prevState(required byuseActionState) andformData - Validates text
- Simulates a network delay
- Returns the new feedback only if valid
Step 2: Build the Feedback Page with Action and Optimistic State
We will build the main page component. Since this component uses hooks like useActionState and useOptimistic, it must be a Client Component.
app/page.js
"use client";
import { useActionState, useOptimistic } from "react";
import { submitFeedback } from "./actions";
import SubmitButton from "./components/SubmitButton";
export default function FeedbackPage() {
const [state, action] = useActionState(submitFeedback, {
error: null,
newFeedback: null
});
const [feedbackList, addOptimisticFeedback] = useOptimistic(
[],
(currentList, optimisticText) => [
...currentList,
{ text: optimisticText, optimistic: true }
]
);
// If server returned a confirmed feedback, merge it in
// Note: In a real app, you might sync this with a database prop
if (state.newFeedback) {
feedbackList.push({
...state.newFeedback,
optimistic: false
});
}
return (
<div className="max-w-lg mx-auto space-y-6 p-6 border rounded mt-6">
<h1 className="text-xl font-semibold">Smart Feedback Form</h1>
<form
action={async (formData) => {
const text = formData.get("feedback");
// optimistic update before server responds
if (text && text.trim() !== "") {
addOptimisticFeedback(text);
}
// trigger the server action
await action(formData);
}}
className="space-y-3"
>
<textarea
name="feedback"
placeholder="Write your feedback..."
className="border p-3 rounded w-full"
/>
{state.error && (
<p className="text-red-600 text-sm">{state.error}</p>
)}
<SubmitButton />
</form>
<div>
<h2 className="font-medium mb-2">Feedback</h2>
<div className="space-y-2">
{feedbackList.map((item, index) => (
<p
key={index}
className={
item.optimistic ? "opacity-50 italic" : "opacity-100"
}
>
{item.text}
</p>
))}
</div>
</div>
</div>
);
}What’s happening here?
useOptimisticshows feedback instantlyuseActionStatehandles real server state- When the server returns final feedback, we merge it in
- Optimistic entries fade in (
opacity-50) until confirmed
This gives a smooth real-world UX.
Step 3: Create the Nested Submit Button
Since we use useFormStatus, this component must also be a Client Component.
app/components/SubmitButton.js
"use client";
import { useFormStatus } from "react-dom";
export default function SubmitButton() {
const { pending } = useFormStatus();
return (
<button
disabled={pending}
className="px-4 py-2 bg-blue-600 text-white rounded disabled:opacity-50"
>
{pending ? "Submitting..." : "Submit Feedback"}
</button>
);
}Why this works:
useFormStatus()gives the pending state from the parent form- No props are passed down
- Automatically triggers loading state during server transitions
How All the Pieces Work Together
| Feature | Purpose |
|---|---|
Action (submitFeedback) |
Runs server-side validation and returns results |
useActionState |
Stores server-returned values (error, confirmed feedback) |
useOptimistic |
Adds new feedback instantly before the server responds |
useFormStatus |
Shows loading state for the submit button automatically |
Form action={action} |
Replaces old onSubmit and ties UI to the server |
This is the complete modern React form workflow.
What the User Experiences
-
They type feedback
-
Press "Submit Feedback"
-
The feedback appears immediately (optimistic)
-
The submit button shows "Submitting..."
-
After the server responds:
- The optimistic feedback becomes final
- Errors are shown if the input is invalid
This is the same seamless interactions used by apps like Gmail, Notion, and GitHub.
This project shows why React 19’s Actions and optimistic UI system are so powerful. You write less code, avoid complex handlers, and deliver a smooth, responsive experience for users. Everything stays clean, declarative, and easy to reason about.