Tailwind CSS for React
In this tutorial, we will learn how to install and use Tailwind CSS in a React project created with Vite. Tailwind is a utility-first CSS framework that helps you build modern user interfaces quickly using small, consistent styling classes.
By the end, you will know how to install Tailwind, configure it, and create styled components using its utility classes.
What Is Tailwind CSS?
Tailwind CSS is a utility-based styling system. Instead of writing CSS classes like this:
.button {
padding: 12px;
background: black;
color: white;
}You write utilities directly in JSX:
<button className="px-4 py-2 bg-black text-white rounded">
Click
</button>This makes it:
- Fast to style components
- Easy to maintain spacing, colors, and layout
- Consistent across the entire app
- Ideal for teams and production apps
It's one of the most popular styling strategies in modern React applications.
Step 1: Create a New React App (with Vite)
If you do not already have a React project, create one:
npm create vite@latest my-react-app -- --template react
cd my-react-app
npm installStep 2: Install Tailwind CSS
Installing Tailwind CSS as a Vite plugin is the most seamless way to integrate it with React.
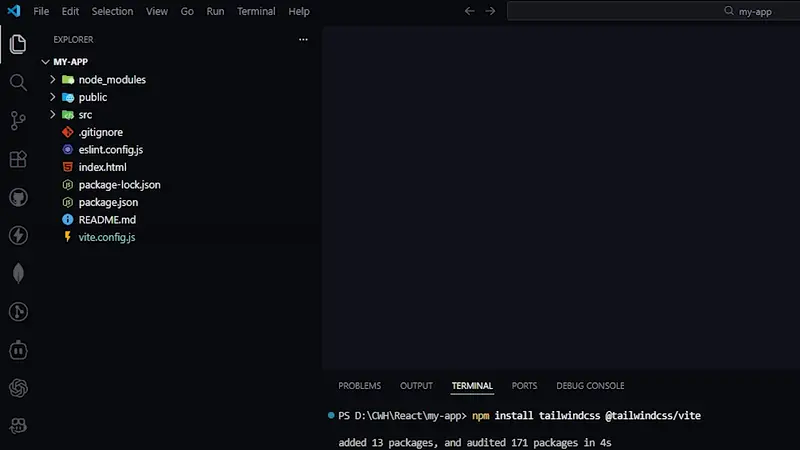
Let's install Tailwind and the official Vite plugin:
npm install tailwindcss @tailwindcss/vite
Step 3: Configure the Vite Plugin
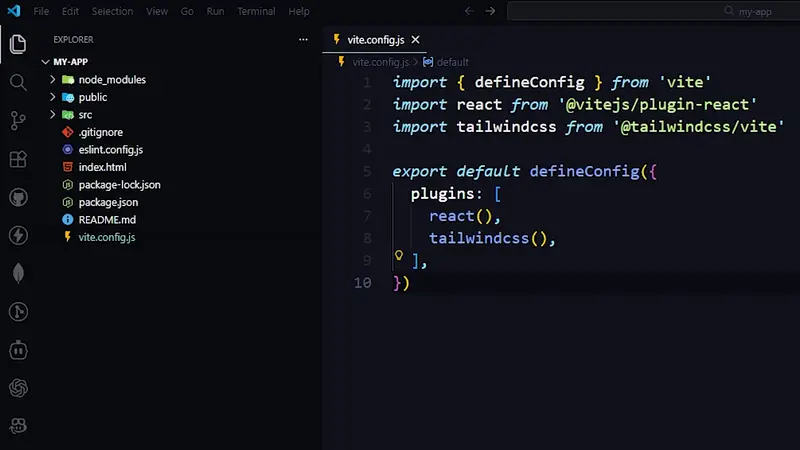
Open your Vite configuration file:
vite.config.ts
Add the Tailwind plugin:
import { defineConfig } from 'vite'
import react from '@vitejs/plugin-react'
import tailwindcss from '@tailwindcss/vite'
export default defineConfig({
plugins: [
react(),
tailwindcss(),
],
})This connects Tailwind directly to Vite’s build system.
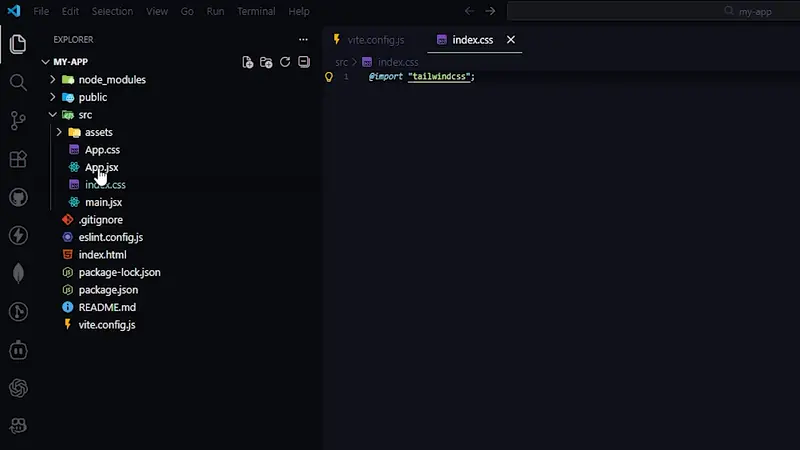
Step 4: Import Tailwind in Your CSS File
Open your main CSS file (for example):
src/index.css
Add the Tailwind import:
@import "tailwindcss";This automatically includes Tailwind’s base, components, and utilities.
Step 5: Start the Development Server
Run your development server:
npm run devVite will now process Tailwind automatically.
Step 6: Start Using Tailwind in Your HTML / React Components
Now you can style components using Tailwind utilities.
Example:
src/App.jsx
export default function App() {
return (
<div className="min-h-screen flex items-center justify-center bg-gray-100">
<h1 className="text-3xl font-bold text-blue-600">
Tailwind CSS is working
</h1>
</div>
);
}You should now see styled output when the dev server is running.
Tailwind Example Components
Button Component
src/Button.jsx
export default function Button({ label }) {
return (
<button className="px-4 py-2 bg-blue-600 text-white rounded hover:bg-blue-700">
{label}
</button>
);
}Card Component
src/Card.jsx
export default function Card({ title, children }) {
return (
<div className="p-6 bg-white shadow rounded-md border border-gray-200">
<h2 className="text-xl font-semibold mb-2">{title}</h2>
<p className="text-gray-700">{children}</p>
</div>
);
}These examples show how quickly you can compose UIs using Tailwind’s utility classes.
Why Tailwind Works Well with React
Tailwind fits perfectly with React because:
- JSX allows className attributes directly
- You skip writing separate CSS files
- Components stay small and predictable
- Design decisions remain consistent
- Prototyping is extremely fast
React handles the structure. Tailwind handles the styling. Together they create clean, modern, maintainable UI.
When Should You Use Tailwind?
Tailwind is a great choice when:
- You want to move fast
- You want consistent spacing and colors
- You prefer writing styles in JSX
- You want fewer CSS files
- You are building dashboards or admin UIs
- Your team wants a shared design system
Tailwind CSS is one of the most efficient styling systems for React. Installing it with Vite is simple, and once configured, you can rapidly build beautiful UIs using its utility classes. Tailwind keeps your styles consistent and eliminates many of the complexity problems found in traditional CSS approaches.