Event Handling & Transitions in React
In this tutorial, we will learn how events work in React and how React 19 introduces Transitions to make updates feel smooth and controlled.
By the end, you will understand how to respond to user interactions and how to handle form submissions using modern React patterns.
Understanding Events in React
An event is something the user does.
Examples:
- Clicking a button
- Typing in an input
- Submitting a form
React lets you respond to these events using event handlers.
A simple example:
<button onClick={() => console.log("Clicked")}>
Click me
</button>The onClick prop tells React what to do when the user clicks the button.
Event Handling in Functional Components
Let’s create a simple component that handles a click event.
Create a file:
src/ClickExample.jsx
Add:
export default function ClickExample() {
function handleClick() {
alert("Button clicked");
}
return (
<>
<title>Event Handling Example</title>
<meta name="description" content="Basic event handling in React 19" />
<button onClick={handleClick}>Click me</button>
</>
);
}This example shows a local event handler function. When the button is clicked, the UI responds immediately.
Moving Beyond Basic Events
Handling simple clicks is easy.
But what about:
- Submitting a form
- Saving data
- Waiting for a response
- Showing a loading state
Before React 19, developers manually handled loading states using additional state variables.
React 19 introduces Transitions to make non-urgent updates smoother and more structured.
What Is a Transition?
A transition is a state update that:
- May take time
- Should not block urgent updates
- Can show a loading state while processing
React provides the useTransition hook to handle these scenarios.
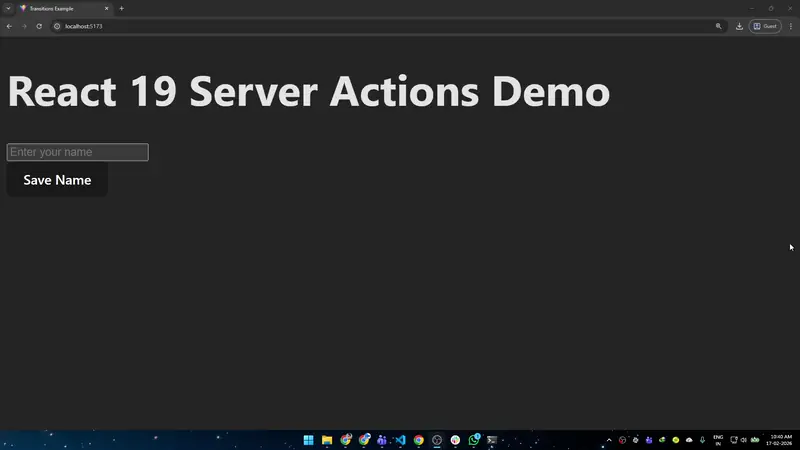
Using Transitions with Forms
Create:
src/NameForm.jsx
Add:
import { useState, useTransition } from "react";
export default function NameForm() {
const [message, setMessage] = useState("");
const [isPending, startTransition] = useTransition();
function handleSubmit(e) {
e.preventDefault();
const formData = new FormData(e.target);
const name = formData.get("name");
// Simulate slow work (like a server request)
startTransition(() => {
setTimeout(() => {
setMessage(`Saved: ${name}`);
}, 1000);
});
}
return (
<>
<title>Transitions Example</title>
<meta name="description" content="Using transitions in React 19" />
<form onSubmit={handleSubmit}>
<input name="name" placeholder="Enter your name" />
<br/>
<button disabled={isPending}>
{isPending ? "Saving..." : "Save Name"}
</button>
</form>
<p>{message}</p>
</>
);
}
How This Works Step by Step
- The user enters their name
- The form is submitted
startTransition()marks the update as non-urgentisPendingbecomestrue- The button shows a loading state
- After the simulated delay, the message updates
isPendingbecomesfalse
React keeps the interface responsive during the transition.
Why This Matters
Without transitions, developers manually manage:
- Loading states
- Disabled buttons
- Slow updates
With useTransition, React provides a structured way to handle non-urgent updates cleanly.
Event handling gives you control over user interactions. Transitions help you manage updates that take time.
Together, they form the foundation of interactivity in modern React applications.