
If you're a developer aiming to compile C/C++ programs using the command prompt, this blog post can guide you through the process of installing the gcc and g++ compilers on your Windows PC.
Without these compilers installed, attempting to compile or run C/C++ programs may result in an error message stating:
gcc : The term 'gcc' is not recognized as the name of a cmdlet, function, script file, or operable program. Check
the spelling of the name, or if a path was included, verify that the path is correct and try again.
At line:1 char:1
+ gcc
+ ~~~~
+ CategoryInfo : ObjectNotFound: (gcc:String) [], CommandNotFoundException
+ FullyQualifiedErrorId : CommandNotFoundExceptionIn Windows 10 and older, this error looks like this: "gcc is not recognized as an internal or external command."
A little Background
Before we proceed with the installation steps, we need to know about these tools:
- MinGW: This is a development environment to run C/C++ programs for Windows.
- gcc: This is the compiler that we will be using to compile C programs.
- g++: This is the compiler for compiling C++ programs.
MinGW includes both the gcc and g++ compilers in one package, eliminating the need for separate installations.
By downloading and installing MinGW, you can seamlessly continue your journey in C/C++ programming without the hassle of installing each compiler individually.
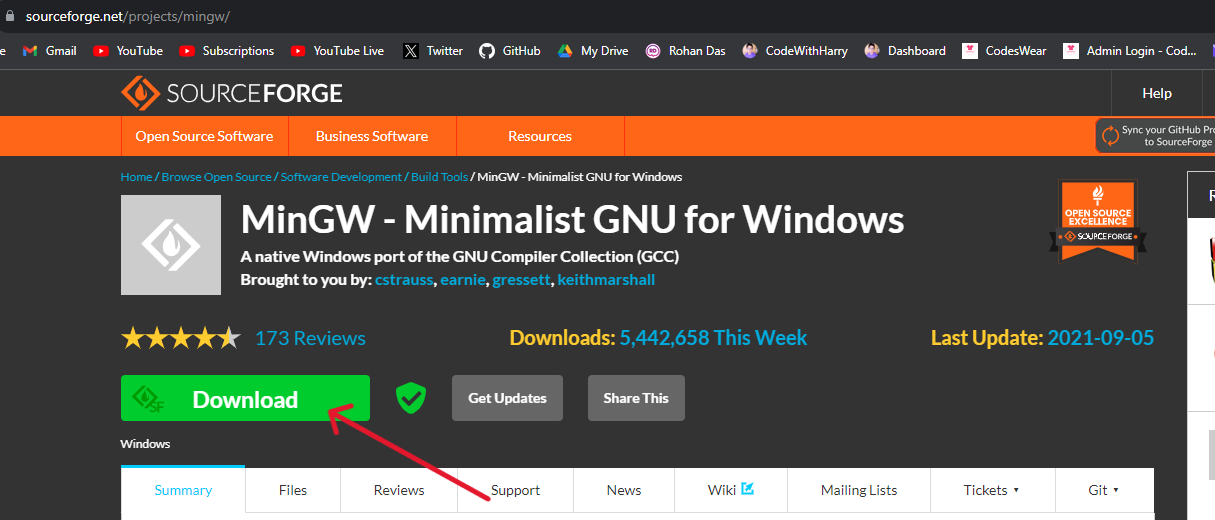
Step 1: Download MinGW Tool
Let’s start by downloading the MinGW installer from MinGW’s Sourceforge Page.
On this Sourceforge download page, click on the download button, and download the installer.
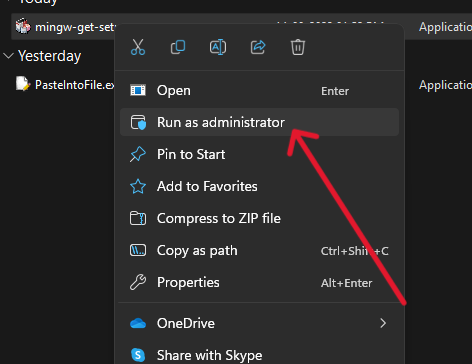
Step 2: Install MinGW
-
Right-click on the downloaded
mingw-get-setup.exefile and run as administrator.
-
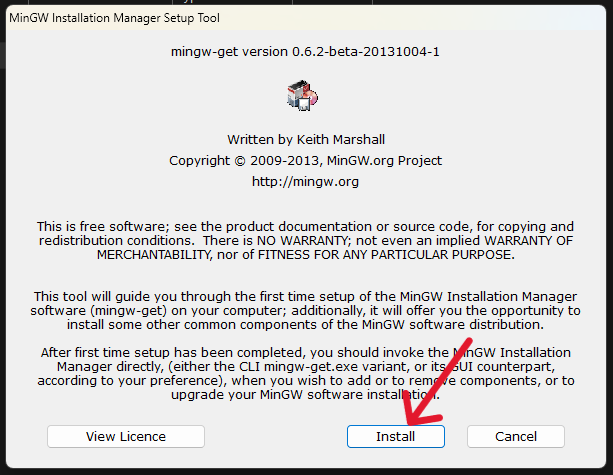
In the MinGW Installation Manager Setup Tool window, click on Install.
-
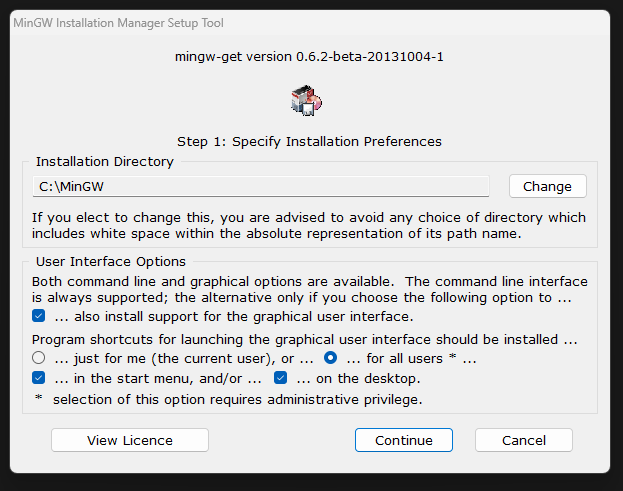
By default, the installation directory is set as
C:\MinGW. You can change the installation directory by clicking on the Change button and selecting a different folder (I don't recommend changing the installation directory).
-
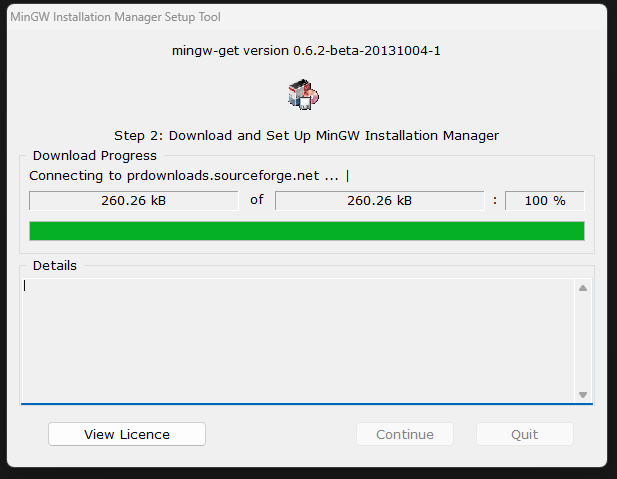
Click on the Continue button to start the installation. Here it might take some time to download. Once it’s complete, click on continue to start the installation.
-
Now, you will be presented with this window. Here, we will right-click on the following items and select the mark for installation:
(a) mingw32-gcc-g++
(b) mingw32-gcc-objc
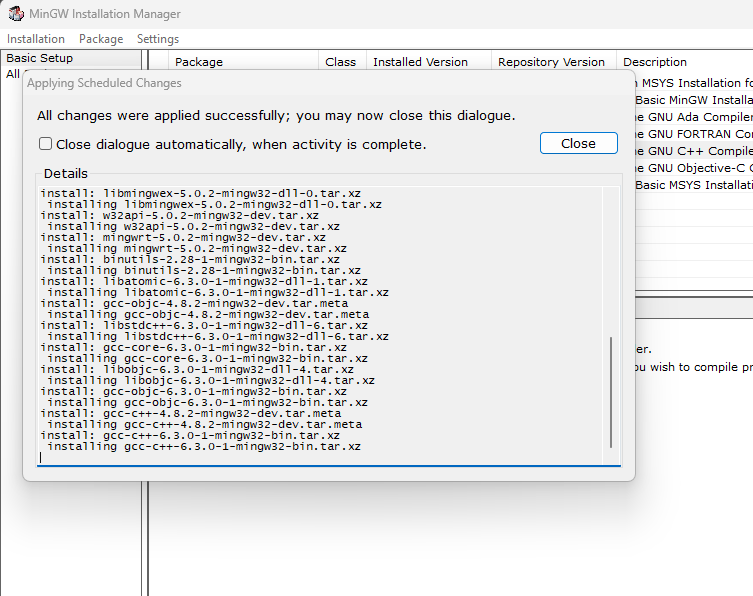
Once we have selected the items, we will click on "Installation" at the top and hit apply changes. It will start downloading and installing the packages. The video below clearly shows these steps:
-
Once the installation is done, You will be presented with this window. Click on 'close' to close the window.

Step 3: Set up the environment variable for MinGW:
-
Once the MinGW setup is complete and the gcc and g++ compiler packages are installed, we need to set the PATH variable for our computer.
Click on your search icon beside the windows icon and type "Environment Variables"
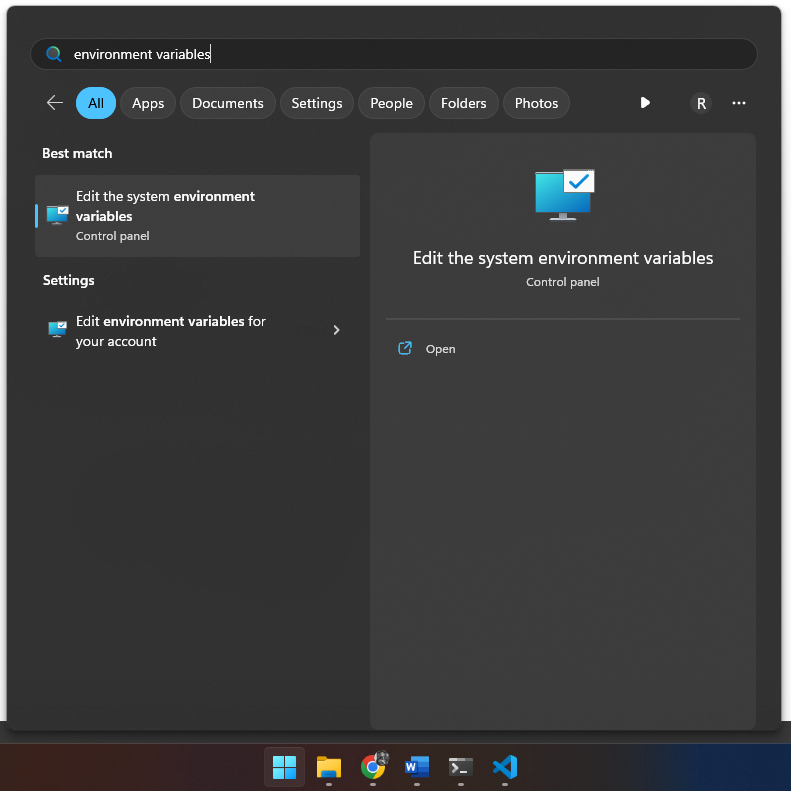
-
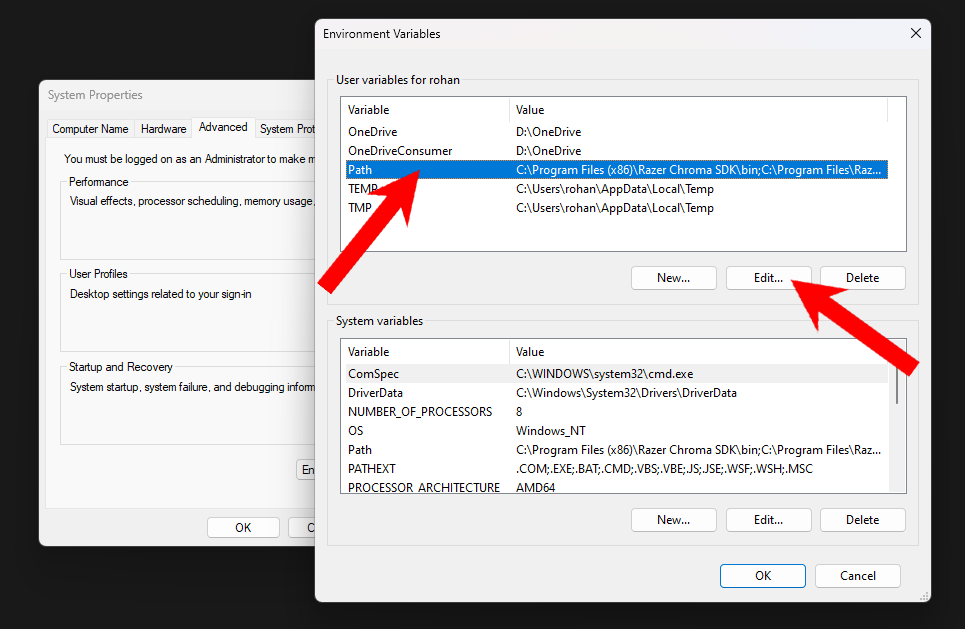
Click on the first option "Edit the system Environment Variables". A System Properties window will open. Click on "Environment Variables"
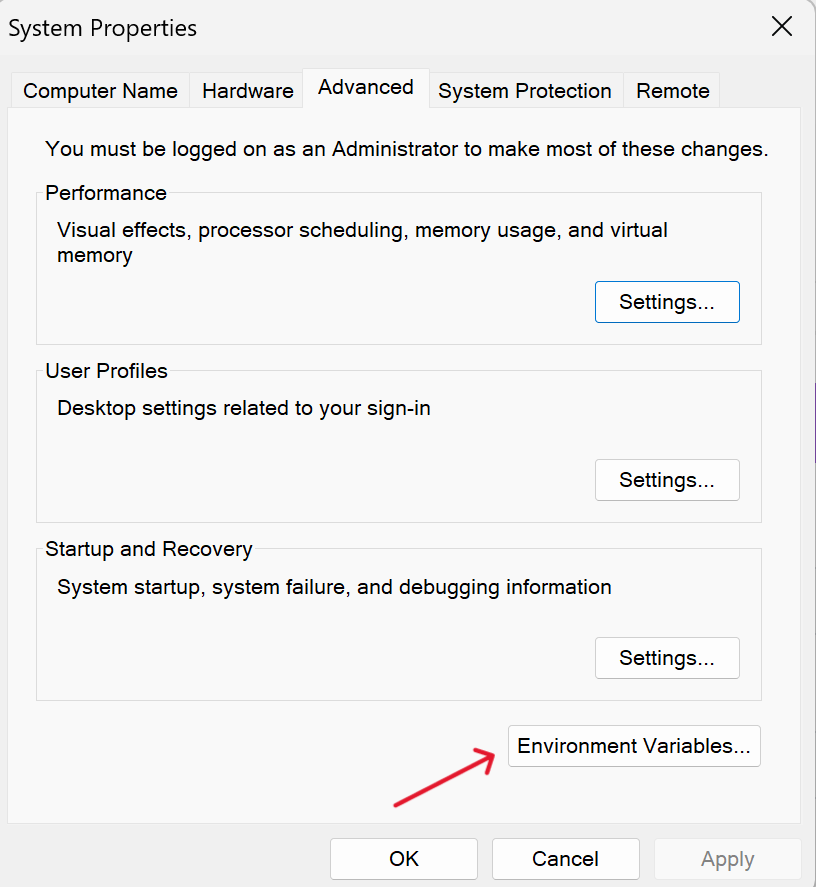
-
Select Path and click on "Edit"
-
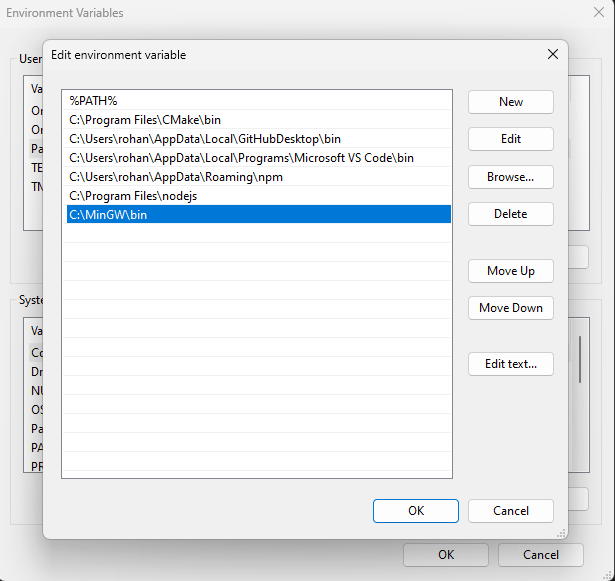
Click "New" and add the location of MinGW installation.
By Default, the MinGW installer installs all the files toC:\MinGW\binfolder. If you have changed the installation directory while installing it you need to give the location of that folder. This is how it will look:

Step 4: Test gcc and g++ compiler:
To test if the gcc compiler or the g++ compiler is installed correctly, open a command prompt and type the following command.
For gcc compiler:
gcc –vFor g++ compiler:
g++ -v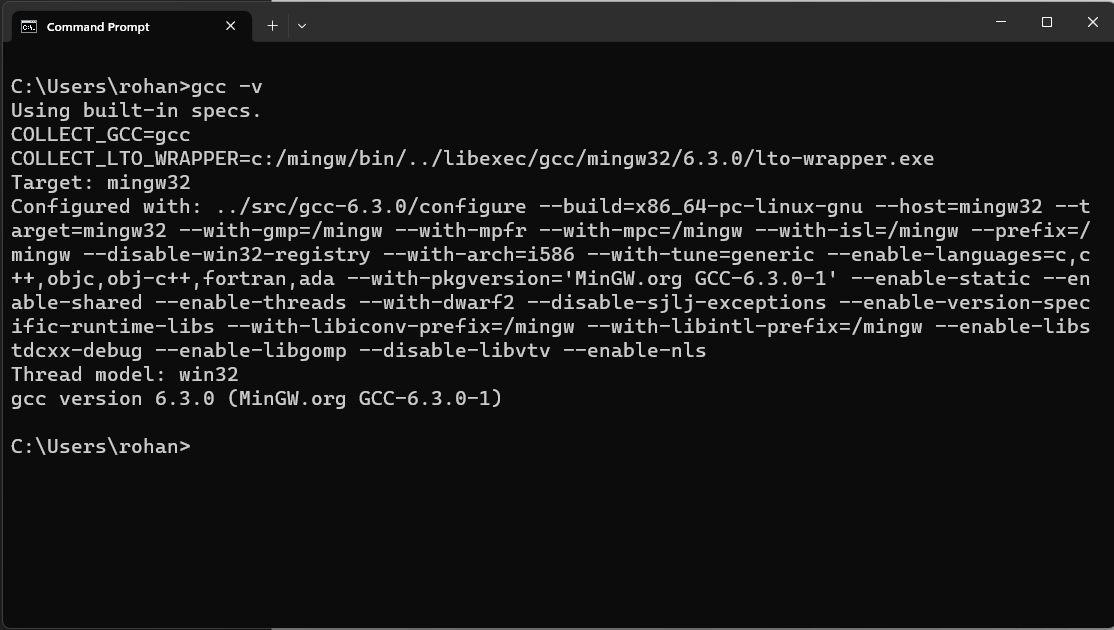
Conclusion:
You've now successfully set up gcc on Windows 11, enabling you to create C/C++ applications seamlessly. These steps cover the entire process, from installing the gcc and g++ compilers to executing your programs in the command prompt. Should you encounter any inquiries or difficulties, feel free to reach out via the comments section. Happy coding!